
Intro
|
On January 11, 2018 my engineering class and I were tasked with designing and building an interactive exhibit for the Children's Museum of Atlanta that would allow children to learn while also having fun. Over the past 6 Months we have been through the design process multiple times to design a great exhibit for CMA--The Bridge Exhibit.
|
|
Constraints
|
During the month of January we worked along side the Children's Museum of Atlanta to establish set constraints for the exhibit during our interview with CMA some of their constraints included :
|
|
Process
|
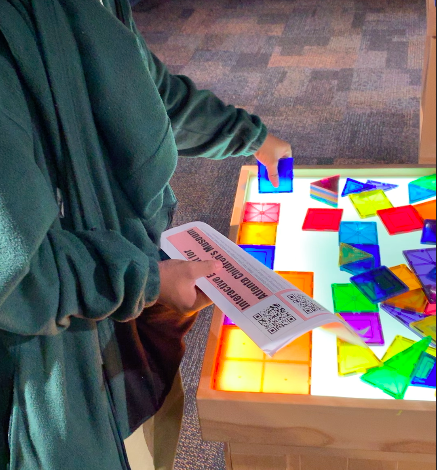
During the 6 months my class and I were jumping around the design process. The first step we did after being briefed on the project was research existing exhibits in very successful STEM museums including Moxi, Mo Math, and many state children's Museums. In doing this we formulated many great ideas and ways to make existing exhibits even better. From here a visit to CMA was required. We visited CMA and interview with our client to formulate a list of constraints to follow and also observed our end user to see what types of exhibits gained their attention well. After our productive visit, we all separately put our ideas to paper designing 2 separate exhibits one that fit the constraints for an outdoor exhibit and one for an indoor. After doing this and revising our designs from the feedback we received from our teacher, we individually made pitches in front of CMA. They critiqued are work and selected 3 exhibits that they wanted to continue forward with. With the feedback from CMA we split into groups and revised our designs for more feedback. Weeks later we presented in front of CMA once more and they chose one exhibit to move forward with. With one exhibit in our focus, we began to intensively go through many iterations for specific parts of the design to make sure that they followed all of the constraints. For the exhibit, our main focus was choking hazards and magnetic safety. Once the design was finalized we moved into CAD programs to be able to see the exhibit in a 3d perspective. Once the exhibit was into a CAD program we began to create order forms for the exhibit and pinpoint everything that we needed to create our exhibit.
|
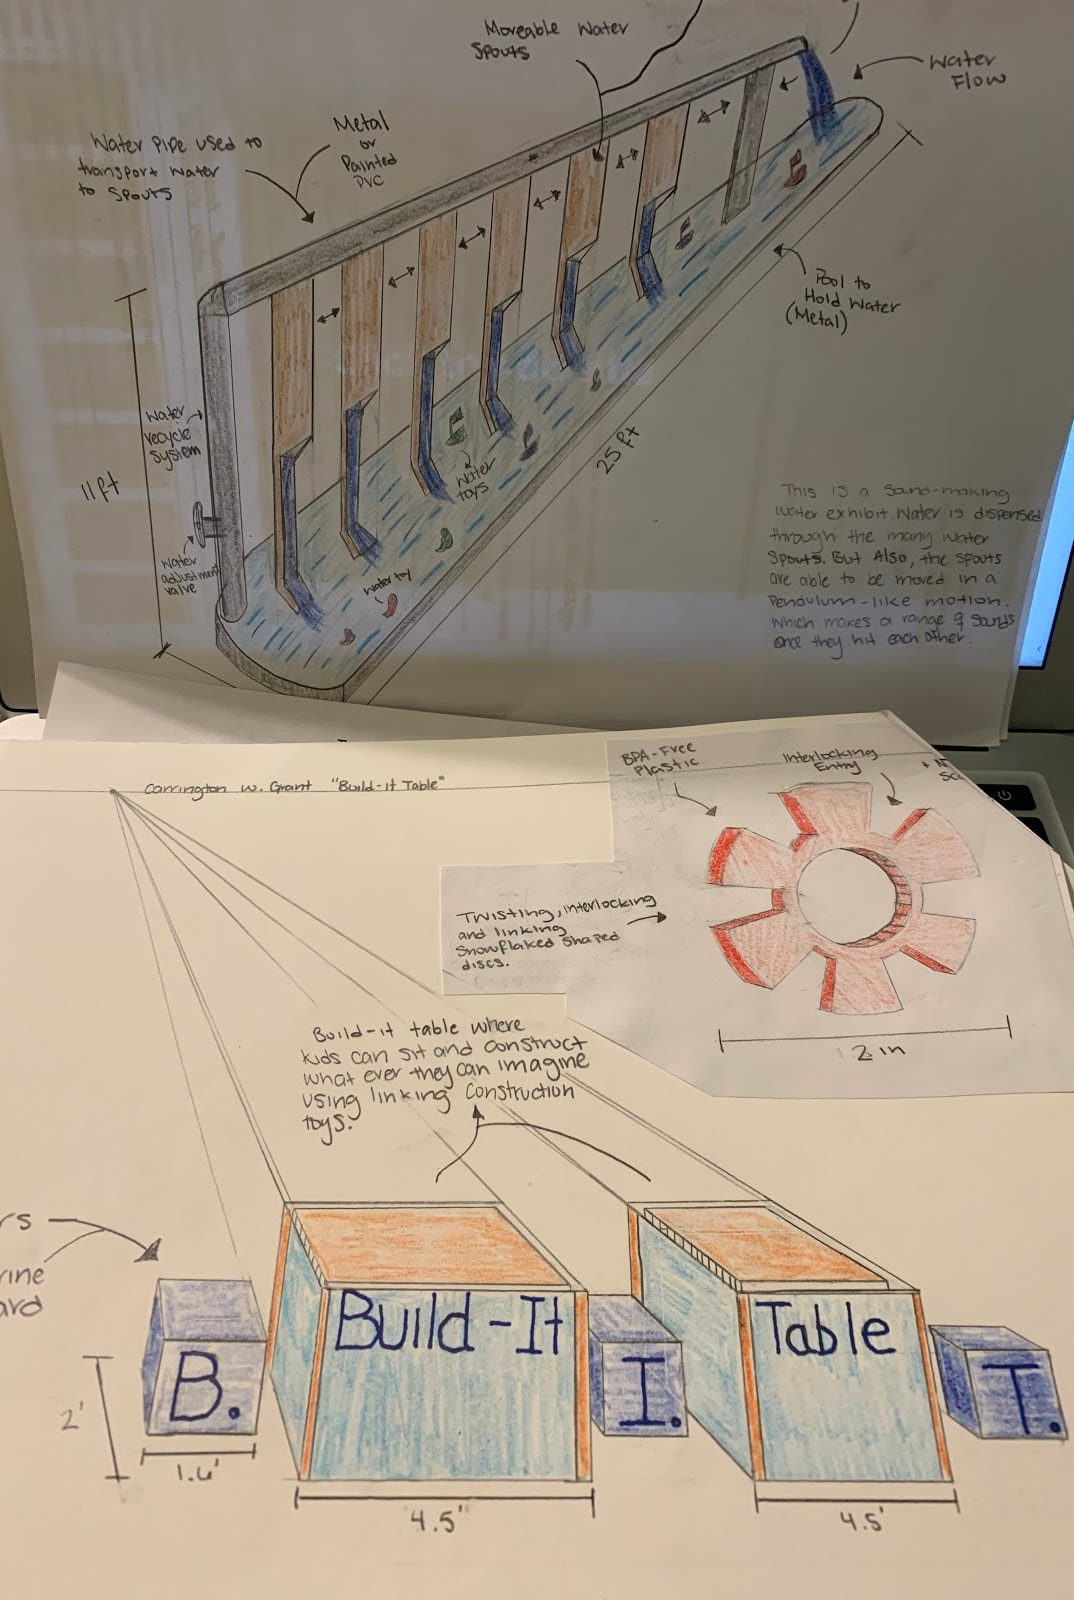
Initial Sketches
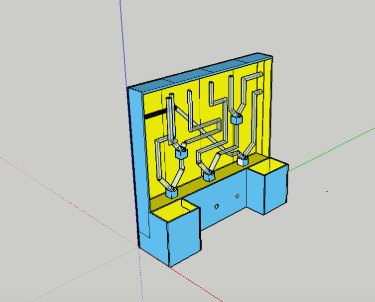
Air Maze CAD Prototype
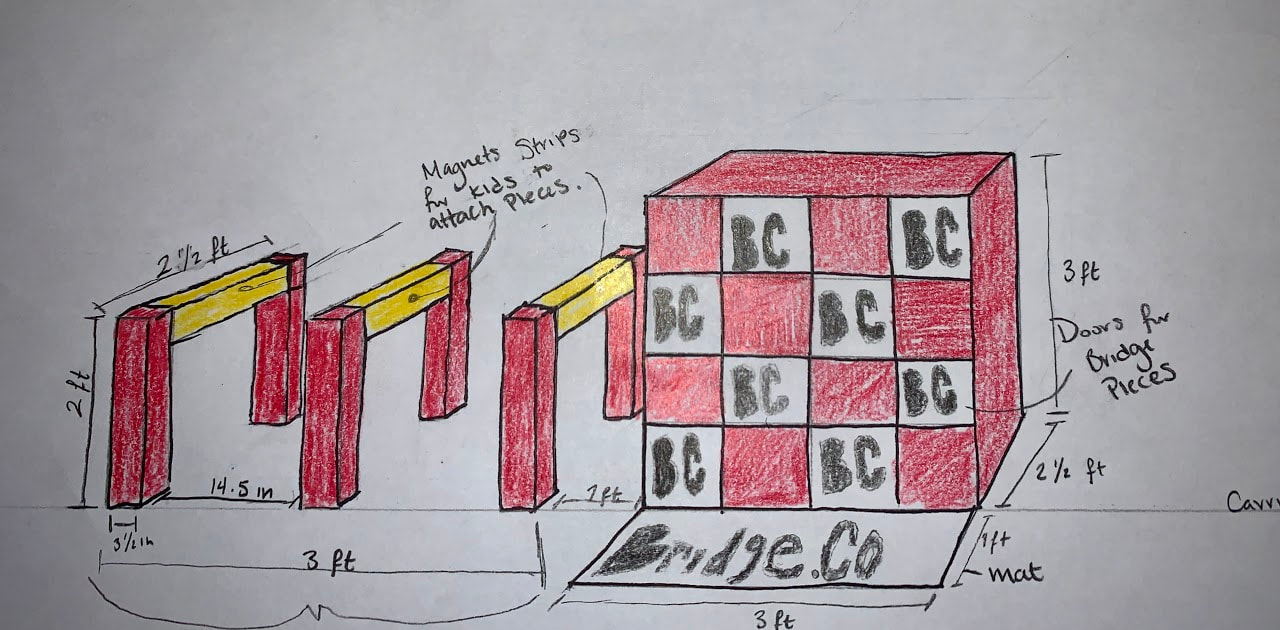
First Sketch
|
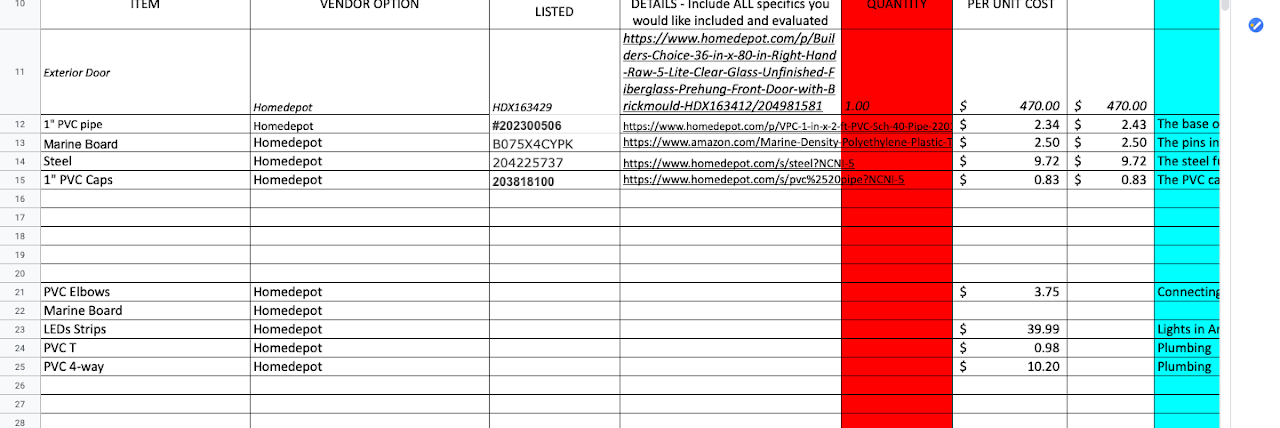
Order Form
My Role
|
My assignment in the project is to further the design, testing and production of the spanning pieces of the exhibit. This is a vital part of the project because these pieces are what kids will use to make a connecting bridge from each of the three pieces. Over the past 7 class periods I have been developing 2 prototypes, one for the 5 1/2" spanning piece and one for the 9" piece. Once locating a piece of wood that fit the dimensions of the pieces I utilized a table saw to cut the pieces down to their right dimensions. Once this was done, I used a machine known as a hand router to cut the negative space that was needed on both ends of the pieces so the magnet could fit. The correct depth that needed to be cut was a vital calculation. This is due to the fact that if not designed and executed correctly the magnets would be a major safety hazard for the kids who will use them.
|
|
|
Team Communication
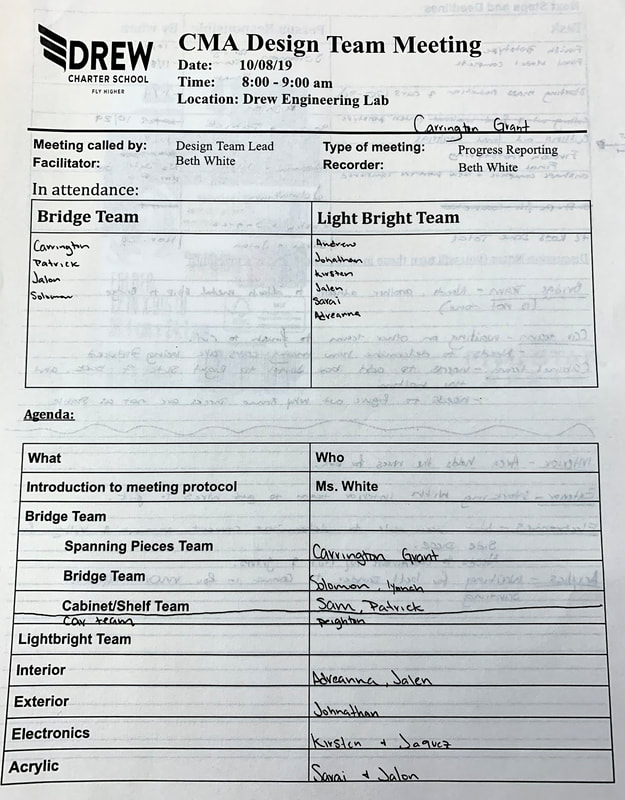
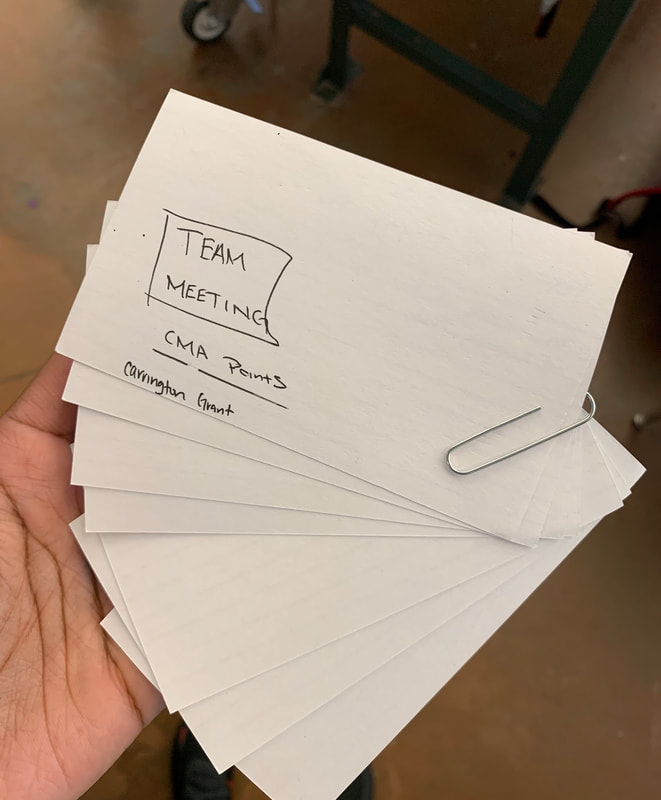
Over the past couple of months during the project I have developed numerous skills. One of the most important ones being progress communication. This skill has allowed me and my team able to effectively communicate their progress to the team over the course of the project. We have held numerous team meetings where are individual progress is communicated. We communicate important things such as challenges we have faced, what are individual timeline is, and what we need from each other. This is a very useful skill that has been developed as it allows us to work separately but together at the same time. |
|
|
CAD Design
As seen in the picture my team and I have developed a digital CAD file to be able to see and conceptualize our design as a whole. We can see how all our joints connect and what pieces can and can't fit perfectly together. This is a very useful tool as well because not only can we digitally see this file we can export the file into a CNC program where we can cut physical prototypes out to be able to test what works and what doesn't. |
  |
|
Mass Production
Towards the end of 2019 my team and I finally reached the last phase of the design process-- production. Using the final material--marine board, I used a CNC to cut out all of the spanning pieces necessary for the exhibit. Once an adequate number of pieces were cut I began processing the materials with a router. Using this tool I was able create the corect dimension of negative space on the end of each piece, so that the magnents can fit perfectly. The adhesive used for the metal to plastic bond is an epoxy tha quickly bonds the two materials together. While the epoxy is very effective in holding the two materials together, some challenges that were faceced was making the adehison as proffesional as possible for the client. |
|


