
Mini-Enclosure
|
At the beginning of my 11th grade, after the end of a great summer, I was immediately tasked with designing a wooden enclosure that fit the given constraints. This project required a sufficient amount of woodworking skills. For it, we used biscuit joints to make the glue-up of the box. The first thing we needed to do was make the parts of the box. For this, we cut down 2 x 4s to the specific width of our enclosure. After, we used a wood planer to equalize all the widths of the boards. After this step was completed, we dadoed our side pieces for our cover assembly. Once this brief step was done, we moved on to the miter saw. During this stage, we cut down our 2 x 4s to the specific size of our enclosure. which was performed with extreme precision to ensure that the box's perimeter was a perfect square. After this was done, we used a biscuit jointer to put the box together. After this step, the cover was designed. I used a laser cutter to engrave the design seen in the picture. Finally, the knob was made to ensure the box would be able to open smoothly. This knob was made using a wood lathe. I carved this knob from the remains of a wood log. After all the steps were completed, the enclosure was sanded and stained.
|
|
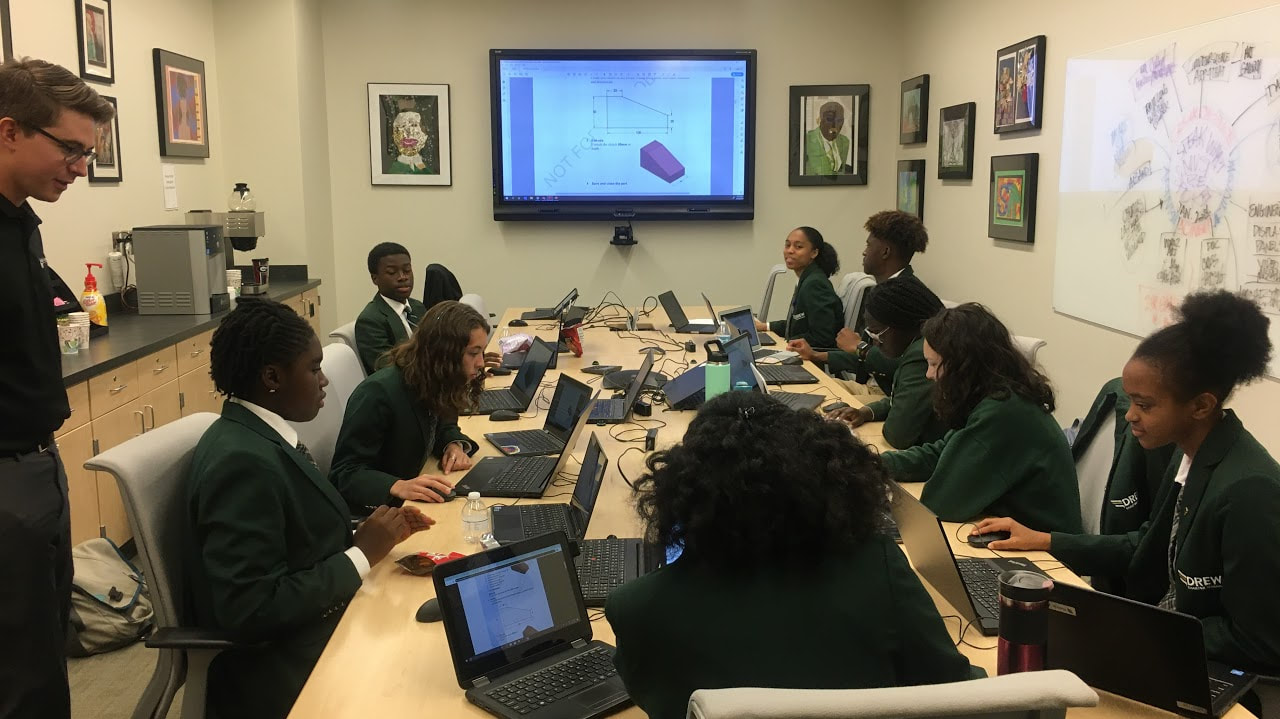
Solid Works Training
3D prototyping is the basis of all design, both physical and digital. There are many CAD softwares out there but it is very rare to find a high schooler that is familiar and efficient with an industry used CAD software such as SolidWorks. In my 11th grade year I applied for and recieved the opportunity to take a solid works training along with some of my selected classmates. After being the one of nine selected to participate in the training, throughout a rigorous 2-day training I became familiar with the tools necessary to design in solid works. The pictures below are some of the practice that was conducted during the training.
|
|
Summer Volunteer Design
During my 11th grade summer, I decided to volunteer at my school. When starting the volunteering my teacher told me that she needs a new way to allow the ease of access of tools to continue but where they are not being used during inappropriate periods of the class. During the summer I took on this task for my teacher. I brainstormed a way were tools can still easily be accessed but where they are out of the sight of the students, therefore, the idea doesn't arise to play with them. I came up with the idea to put the tools on the side of the table as seen in the picture. Instead of them being on top of the table where they can easily be grabbed the side of the table solves the problem at hand. I used spare wood found in the classroom and screws to hang the most useful and commonly used tool in the classroom. This project allowed me to further develop my resourcefulness, brainstorming, and problem-solving.


Covid 19 PSA Video
In response, to the heightening threat of the global Covid-19 Pandemic. I created a PSA during early quarantine to spread awareness about necessary safety precautions and fun ways to live during quarantine.
